
What a High Bay Light Is and Where Its Use Starts
A high bay is defined by how far it hangs, not by what it looks like. The category covers any LED fixture meant to light a working plane from roughly 20 feet up. The number that matters is mounting height: the distance from the floor to the bottom of the fixture, not from the floor to the roof deck (Jarvis Lighting, 2025). A building with a 30-foot roof deck but fixtures hung from 24-foot purlins is a 24-foot installation. Every decision downstream, from lumen output to beam angle to spacing, follows from that measured number.
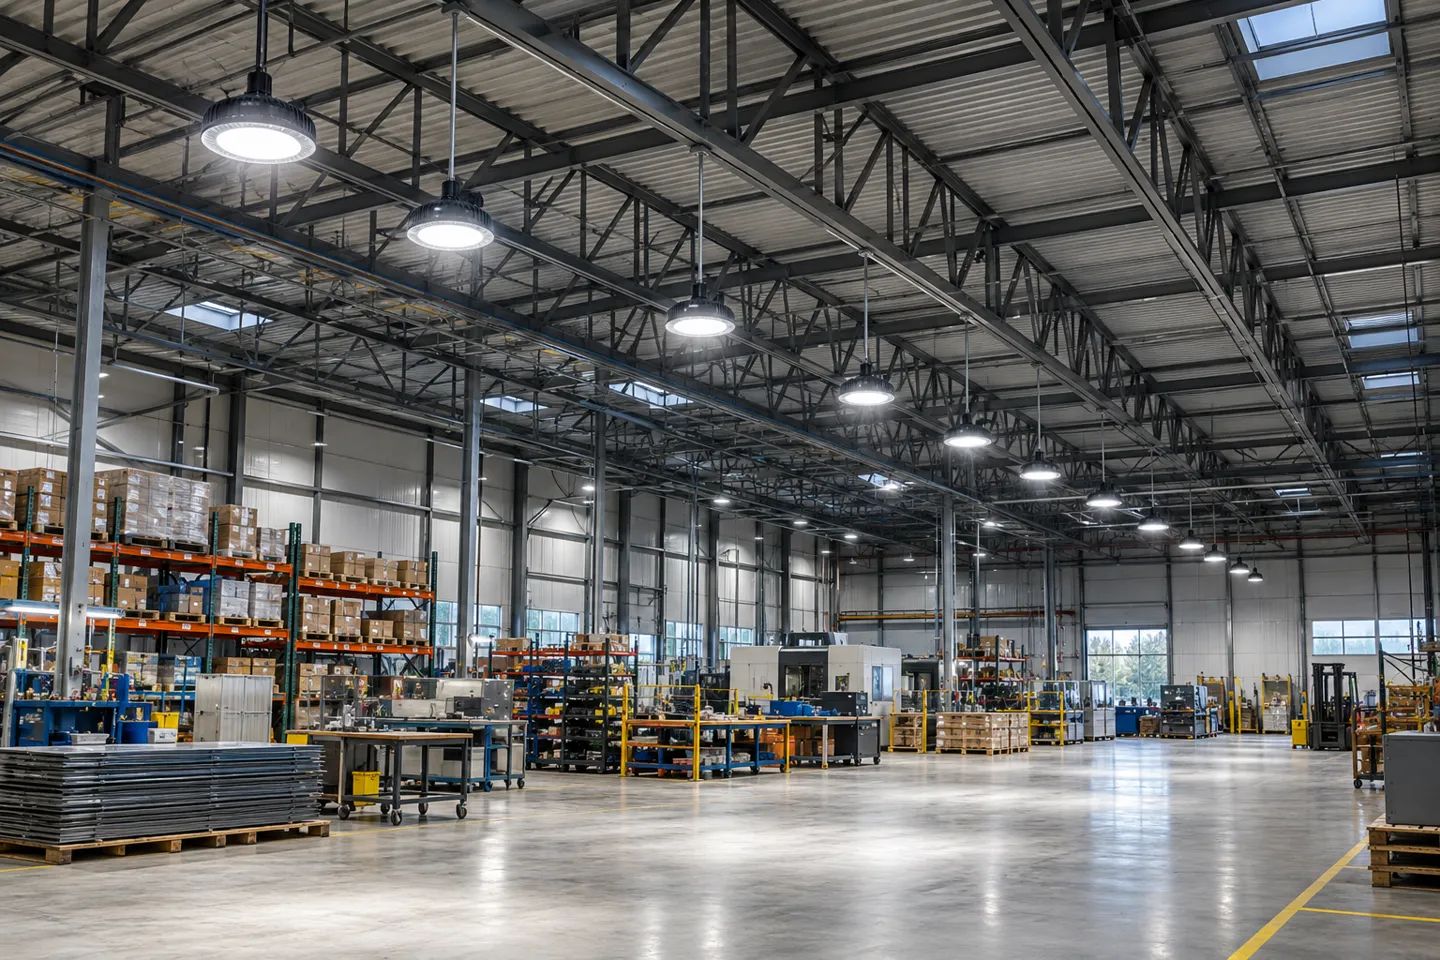
The conventional dividing line between high bay and low bay sits at 20 feet. High bays run narrower beam angles, usually 60 to 90 degrees, and higher output, roughly 15,000 to 60,000 lumens, so the light still lands hard enough to work under. Low bays spread wider beams at lower output for the 12-to-20-foot band. Between about 15 and 25 feet sits a gray zone where either fixture can work, and the deciding factors are racking, target brightness, and glare tolerance rather than the ceiling tape measure (Jarvis Lighting, 2025).
If your ceiling sits below that gray zone, the honest answer is that a high output high bay is usually the wrong tool. Hanging a narrow-beam 30,000-lumen fixture 11 feet over a garage floor buys you a hot spot directly below it and glare everywhere else. That is the most common complaint in small stockrooms and home shops where high bays were chosen because they were cheap per lumen (Jarvis Lighting, 2025). In the 10-to-14-foot band a high bay only makes sense in its lowest wattage setting with a wide 120-degree optic or a diffuser, and even then a purpose-built low bay often wins on comfort.
From here, the requirements climb with the hang height. A shop owner at 16 feet cares about different things than a facility manager at 30 feet, and a bidding electrician cares about numbers neither of them reads. Height is the axis, and the next stop is what holds the light to the building.
Fixture Shapes and Mounting Methods: What Your Building Can Actually Take
The second decision is mechanical, and it is where installations go wrong before a single wire is connected. Two questions decide it: which shape of fixture suits the space, and which fixing method suits the structure. Getting either one wrong costs a re-order or, worse, a fixture that lets go.
Three Fixture Shapes and What Each Does Best
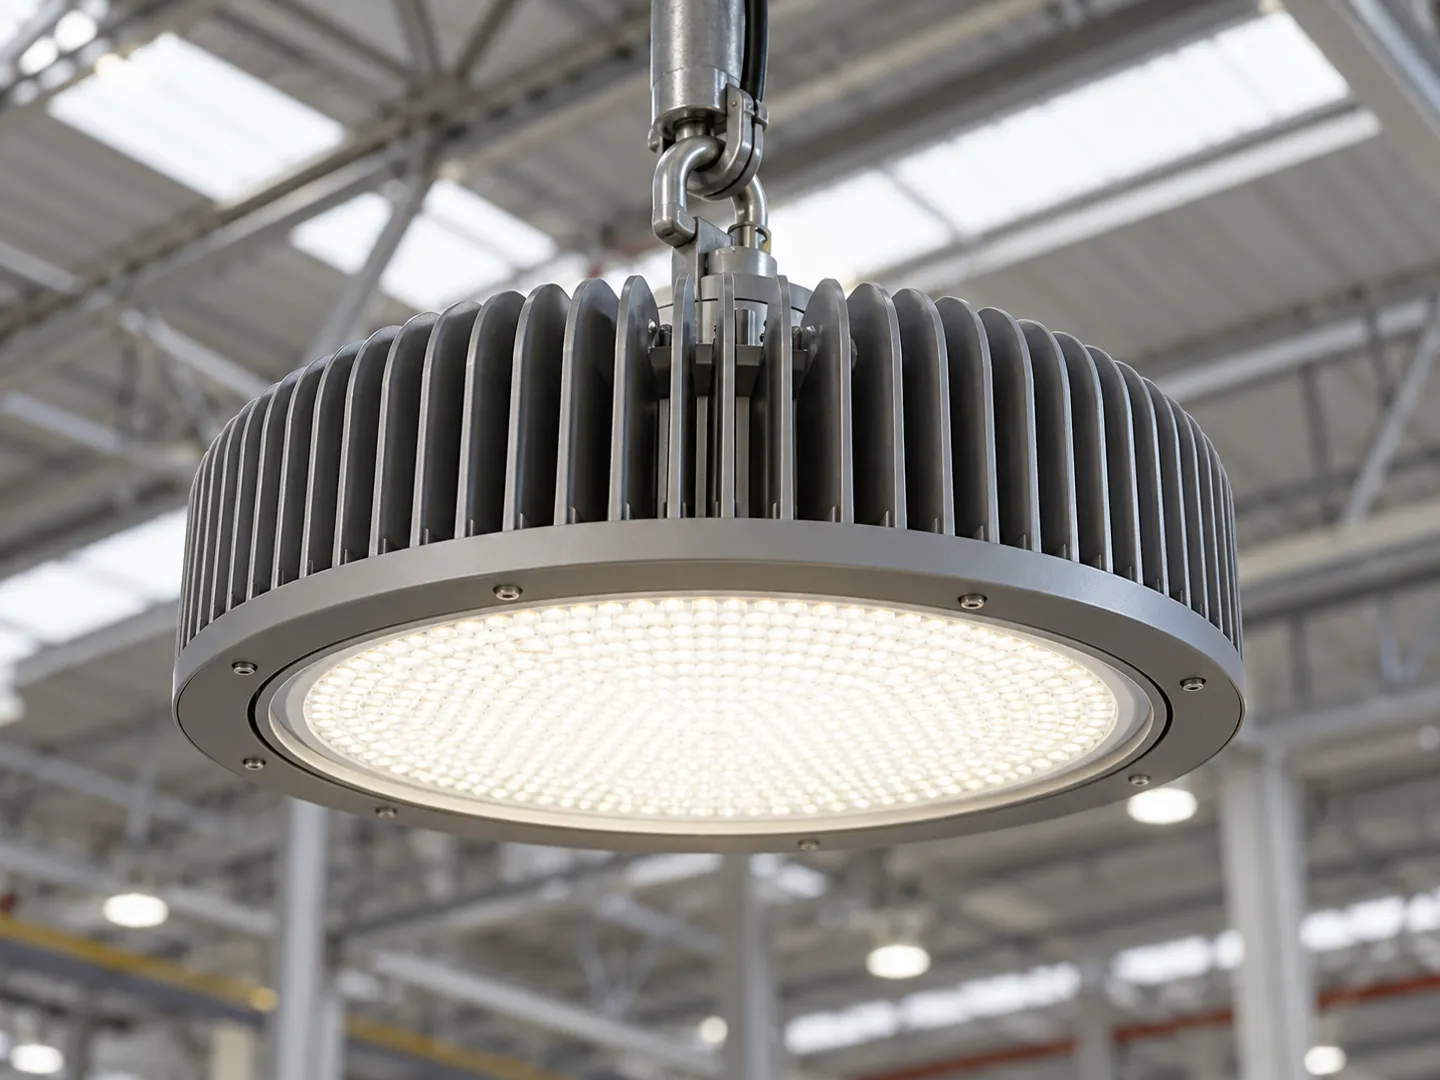
UFO high bays, the round finned discs, dominate modern installs because the exposed-fin body sheds heat efficiently and the compact form suits hook mounting in open areas. Linear high bays are the better match for racked aisles: their elongated optics push light down the rack faces instead of wasting it on rack tops, which is why warehouse aisle layouts favor them (e-conolight, 2026). The traditional dome-and-reflector style still exists where a wide, soft distribution is wanted, but it trades efficiency and compactness for that spread, and most new installs skip it.
| Shape | Best fit | Beam tendency | Watch out for |
|---|---|---|---|
| UFO round | Open areas, shops, hangars | Narrow to medium, optics swap easily | Glare at low mounting heights without a diffuser |
| Linear | Racked aisles, narrow bays | Elongated, directional along the rack face | Wrong orientation wastes light on rack tops |
| Dome + reflector | Wide soft coverage, retro looks | Wide, controllable via reflector | Lower efficacy, bulkier to ship and mount |
A rare fourth category worth one sentence: emergency backup models carry an internal battery driver so selected fixtures stay lit through a power cut. Facilities that need standby lighting during outages save money by specifying backup drivers in the primary fixtures instead of adding separate emergency heads later (FSG, 2026).
Four Ways to Fix a Light to a Building
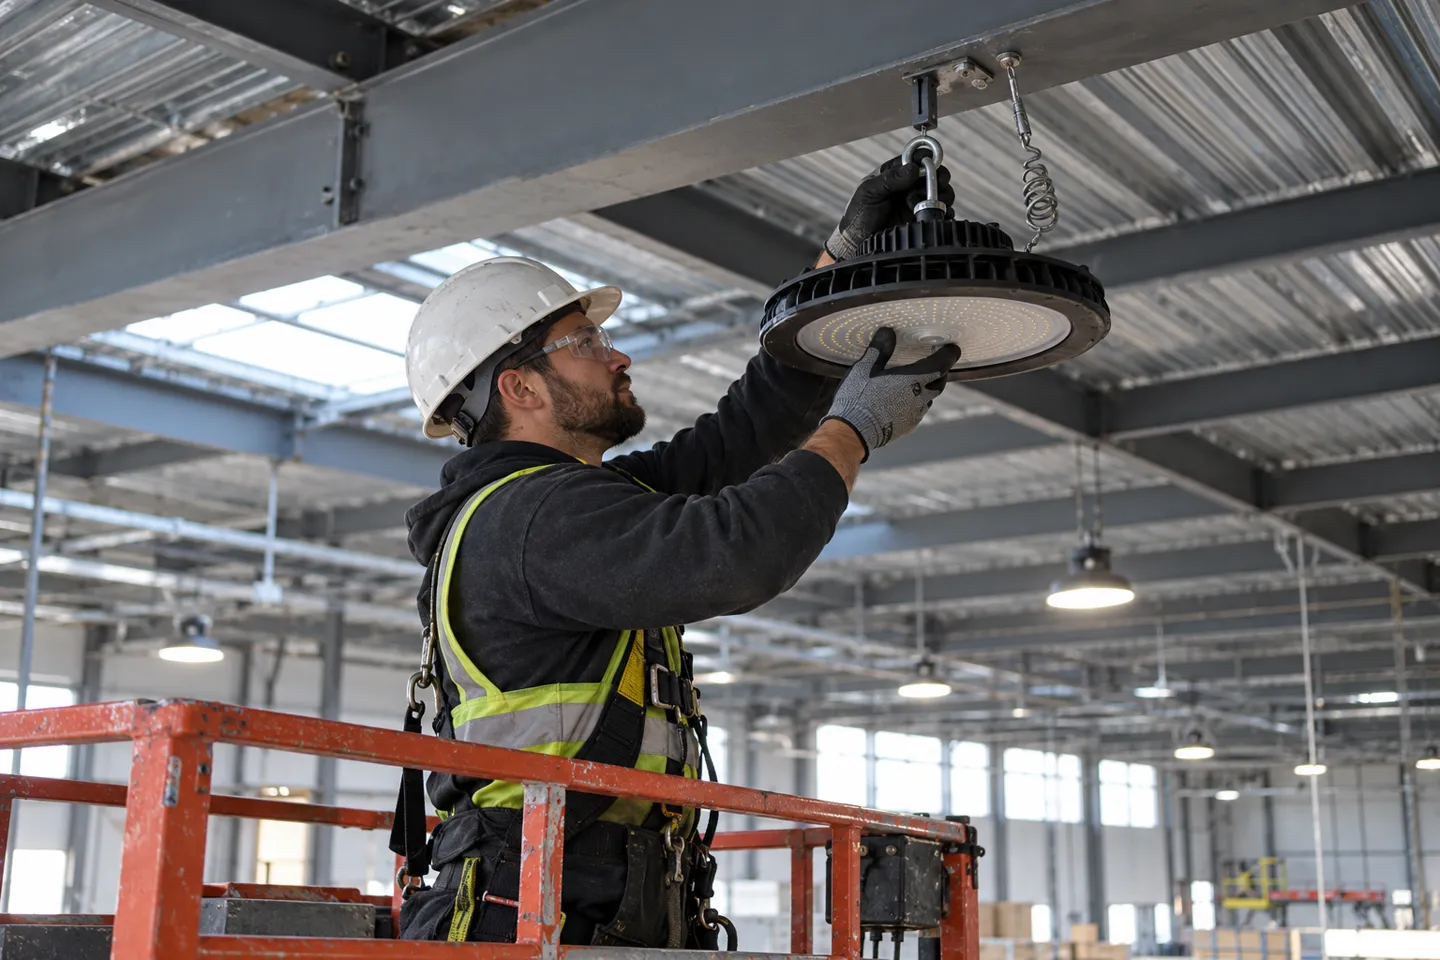
Hook mounting is the default for UFO fixtures: a carabiner-style hook over the fixture’s ring, hung from a threaded rod or a bracket fixed to structure. It is fast, tool-free on the fixture side, and it lets the light hang plumb. Ceiling or flush mounting bolts the fixture flat against a surface and suits concrete decks and solid soffits, using expansion anchors sized for the fixture weight. Pendant mounting drops the fixture on a rod or chain to place light exactly at the chosen height, which matters when ducts and cable trays steal clearance up top. Cable suspension spans long distances between trusses or joists without drilling every point, common in hangars and halls where the roof structure is off-limits.
Hook mount
Ring and carabiner on rod or bracket; tool-free, hangs plumb.
Flush mount
Flat against concrete decks and solid soffits; expansion anchors.
Pendant mount
Rod or chain sets the exact height under ducts and trays.
Cable suspension
Long spans between trusses or joists; no drilling at every point.
Match the method to the structure and the honest constraints. Steel purlins take hooks and clamps but have a load rating, so confirm purlin spacing and capacity before hanging anything heavier than a small UFO. Concrete takes anchors well but wants the right embedment depth. Drywall and sheet finishes support nothing: find the member behind them or add unistrut spanning real structure. One shop-owner thread on Garage Journal worked through exactly this, mounting UFO fixtures on 3/4-inch conduit runs fixed across ceiling joists, with each fixture adjustable along the run (Garage Journal, 2020).
Clearance: The Number Installers Forget to Reserve
The fixture hangs low enough to matter the moment anyone lifts something. Reserve the vertical envelope between the fixture bottom and the tallest activity under it: a person on a step platform, a forklift mast, a hoist hook traveling its full arc. Adjustable-angle brackets earn their keep in mixed spaces, tilting light toward racking in one zone and flattening out over workbenches in another, which is why many current series offer multi-position mounting brackets as a catalog option. Skip this reservation and the failure is quiet but real: owners of a 14-foot shop reported removing fixtures two years after install because the lights were in the way of overhead work (Garage Journal, 2022).
Mounting Height and Spacing: The Decisions That Set Everything Else
Mounting height, once fixed, drives every number that follows: lumens per fixture, spacing, fixture count, and a large share of project cost. This is also the station where published advice disagrees with itself, so it pays to understand why the tables fight before trusting any single one.
Why Every Source Gives You a Different Spacing Ratio
Ask one guide and you get spacing at 0.8 times mounting height. Ask another and you get 1.5 times. Both are right, for different rooms. The spacing-to-mounting-height ratio is a function of the brightness target, not a constant. At a demanding 50 fc target, fixtures sit at roughly 1.0 times mounting height apart. At a moderate 30 fc, the ratio stretches to about 1.2. At a forgiving 20 fc, it reaches 1.5. Racked aisles break the rule entirely: fixtures center over each aisle and run 8 to 12 feet along it regardless of ratio (Jarvis Lighting, 2025). Source tables that ignore their own fc target, like the common planning examples that pair 15-foot ceilings with 12-to-15-foot spacing and 30-foot ceilings with 20-to-25-foot spacing, are simply quoting softer brightness targets as the ceiling rises (e-conolight, 2026).
Two supporting rules finish the layout. The first row of fixtures sits at roughly half the interior spacing from the wall, so the perimeter never reads darker than the middle. And doubling mounting height demands roughly four times the lumens for the same floor level, which is why high-bay fixtures exist as a distinct output class at all (Jarvis Lighting, 2025).
Lumens and Targets by Mounting Height
| Mounting height | Lumens per fixture (30 fc target) | Beam angle | Fixture class |
|---|---|---|---|
| 10-15 ft | 8,000-15,000 lm | 120° | Low bay |
| 15-20 ft | 15,000-22,000 lm | 90-120° | Gray zone, either |
| 20-25 ft | 20,000-30,000 lm | 90° | High bay |
| 25-30 ft | 25,000-40,000 lm | 60-90° | High bay |
| 30-40 ft | 35,000-50,000+ lm | 60° | High bay |
Brightness targets themselves come from the work, not the room. Basic storage runs 20 to 30 fc, general warehouse work 30 to 50 fc, manufacturing 50 to 75 fc, and detailed assembly or inspection 75 fc and up (e-conolight, 2026). Regulators only set the floor: OSHA general work areas require 5 fc at floor level and 2 fc on stairways and passageways, a compliance minimum that leaves workers squinting long before it reaches a productive level (FSG, 2026).
Worked Example: 40 by 60 Feet at 18 Feet
Take a 2,400 sq ft shop, fixtures hung at 18 feet, target 30 fc for general work. The rough lumen method multiplies target by area: 30 fc times 2,400 sq ft needs about 72,000 delivered lumens (FSG, 2026). Fixtures in the 15,000-to-22,000-lumen class fit an 18-foot hang, so the lumen count lands at four to five fixtures. Now check spacing: at 30 fc the ratio allows 1.2 times 18 feet, about 21.6 feet maximum between fixtures. A grid of six, two rows of three, spaced 20 feet apart in both directions and 10 feet off each wall, satisfies the ratio and the half-spacing wall rule, and delivers roughly 40 fc before light-loss factors, comfortable margin over the 30 fc target. Six fixtures, one row switch per zone if you run 0-10V dimming, done.
That worked sequence, target first, ratio second, grid third, is the repeatable answer to the tables that disagree. The ratio was never wrong in any of them. The target was just different.
Wiring and Installation, Step by Step
By installation day the decisions are made, and the job is a disciplined sequence rather than a puzzle. Every step has one judgment that matters; the rest is careful hands.
Install day, in order
Kill and lock the circuit. Confirm the breaker off, lock it, tag it, and verify dead at the fixture with a tester before touching a conductor.
Fix the hardware. Set brackets, hooks, or pendant rods to structure, not to finish surfaces, and hang the fixture with its safety wire where the mount allows.
Ground first. Connect the ground conductor before anything live, so a fault during the next steps has a path home.
Line and neutral. Match supply voltage to the fixture rating, join line to line and neutral to neutral, and secure every joint in its proper connector.
Reserve the control wires. If the fixtures take 0-10V dimming or a sensor, land those low-voltage pairs now even if no dimmer is being installed today, because retrofitting control wiring after the ceiling work closes means re-renting the lift.
Restore and test. Energize, confirm every fixture strikes, then walk the grid looking for fixtures that fail to start or sit dim (Hyperlite, 2025).
Two standing cautions wrap the sequence. Work at height with equipment rated for it, a ladder for a 15-minute swap, a scissor lift for a grid day, and keep the local electrical code and permit requirements in the plan, because a commercial install that skips inspection is a certificate of occupancy problem later.
A fixture that strikes is not yet a finished install. What separates a professional job from a bright room is verification, and that is next.
Settling a fixture count before lift day: send WOSEN your hang height and target fc and bid on a layout, not a guess.
Send Your Project SpecsAfter the Lights Are On: Verification and the Ways Installs Go Wrong
Verification takes three readings, and none of them is “it lights up”. Measure floor level with a light meter against the fc target the layout assumed. Walk the space and look for dark bands between fixtures or hot pools under them, which reveal spacing or optics problems instantly. Exercise every accessory through its full range: dimming down and back up, sensor trigger and reset (e-conolight, 2026).
Acceptance trio: meter reading vs fc target, visual uniformity walk, accessory full-range test. Do these before final payment, not after.
When an install disappoints, it fails in one of four documented ways, and each has a decision at its root rather than bad luck. The mismatch case: a machinist hung LED high bays at 12 feet, later flattened the ceiling to 8 feet, and the fixtures no longer suited the room at any setting (Practical Machinist, 2023). The clearance case: shop owners pulled fixtures out two years in because the lights obstructed overhead work. The spacing case: ratio numbers copied from a table without its fc target produce either dark bands or glare. The electrical case: flicker traces to dimmer incompatibility or loose joints, buzz traces to driver quality, and a dead fixture traces to the circuit or the driver.
| Mounting band | Fixture + mount that holds | Applies when | Fails when |
|---|---|---|---|
| 10-15 ft | Low-output UFO, wide optic, flush or pendant | Garages, small shops, diffuser fitted | Narrow optic at low height: glare and hot spots |
| 15-25 ft (gray zone) | Either class, hook or pendant, dimming recommended | Decide by racking and fc target | Choosing by price per lumen only |
| 25-35 ft | UFO or linear, hook or cable, aisle optics in racks | Warehouses, hangars | Ratio copied without its fc target: dark bands |
| 35 ft+ | High-output high bay, cable or pendant, aisle optics | Ports, heavy industry | Under-lensing: light never reaches the floor hard |
What Installation Really Costs: Reading the Bid Like a Contractor
The bill for a high bay project splits into four parts, and the fixture line is rarely the biggest. Electricians discussing a supply-and-install high bay job quote roughly 8 to 10 dollars per point for labor (Reddit, r/electricians, 2025). A working bid on a warehouse lighting rebuild itemized a scissor lift rental near 700 dollars for the week against 16 hours of labor at 150 dollars an hour (Mike Holt Forums, 2021). Removal and disposal of old fixtures carries its own line. Against those numbers, the difference between two LED fixtures of the same output class is a rounding error.
The lever that moves the total is count, and count comes from the spacing decision. The same 50,000 sq ft warehouse at 25 feet needs 80 fixtures at 25-foot spacing but only 56 at 30-foot spacing, and that difference flows straight into hardware, wiring, and lift days (Jarvis Lighting, 2025). Fixture efficacy decides how many fixtures a layout needs to hit the target, and warranty depth decides what a failure costs during the coverage years, because every warranty claim at 30 feet is a second lift rental and a second labor line.
Where the money actually goes
The fixture price gap between same-class models is a rounding error against these three. The levers that move the total: efficacy (lm/W) and warranty (years).
So the specification sheet is where the money is decided, and four entries do most of the work: efficacy in lm/W, protection ratings, warranty in years, and driver brand. Efficacy around 180 lm/W against a 120 lm/W alternative shrinks the fixture count for the same fc target. A 5-year series warranty with name-brand drivers changes the ten-year maintenance math, and documentation of IP and impact ratings settles the arguments before they start.
That is exactly how we approach it at WOSEN: our high bay series is rated up to 180 lm/W with IP65/IP66 sealing, an IK06 impact rating and a 50,000-hour service life across a -20 to 50°C working range, backed by a 5-year series warranty built on name-brand drivers of the Philips, Meanwell and Inventronics class, and we answer overseas questions within 12 hours with one-way freight and customs covered in warranty shipments. We would rather the spec sheet end the debate than the brochure.
If you are pricing a project, send the WOSEN team your room dimensions, hang height and target fc, and we will return a layout and quotation from a 100-piece MOQ on a standard 35-40 day production schedule.
Build your bid on total install cost
High bay series rated to 180 lm/W, IP65/IP66 sealed, name-brand drivers, 5-year warranty. Quotes answered within 12 hours.
Get a Layout & QuoteReferences
- FSG. “Industrial Lighting Standards & Layouts: The Complete Guide.” 2026. https://fsg.com/industrial-lighting-standards-guide/
- r/electricians. “Bidding High Bay Lights?” Reddit, 2025. https://www.reddit.com/r/electricians/comments/1immgul/bidding_high_bay_lights/
- Mike Holt Forums. “Help Bidding a Warehouse Lighting Repair Job.” 2021. https://forums.mikeholt.com/threads/help-bidding-a-warehouse-lighting-repair-job.2560688/
- Practical Machinist. “Good Shop Lights for 8ft Ceiling?” 2023. https://www.practicalmachinist.com/forum/threads/good-shop-lights-for-8ft-ceiling.409235/
- Garage Journal. “High Bay Light Positioning?” 2020. https://www.garagejournal.com/forum/threads/high-bay-light-positioning.491961/
- Garage Journal. “Does Anyone Regret Installing High Bay Lighting in Their Shop?” 2022. https://www.garagejournal.com/forum/threads/does-anyone-regret-installing-high-bay-lighting-in-their-shop.506744/

 English
 Spanish
 French
 German
 Italian
 Arabic
 Russian
 Portuguese
 Dutch
 Indonesian
 Turkish
 Polish