
A 40-by-60 workshop runs nine fluorescent high bays. One starts blinking, then two more drop out, and the owner discovers the replacement model has been discontinued. That single repair cascade is why “best” matters so much in this category. A high bay decision repeats across a whole ceiling, so a wrong pick gets multiplied by twelve, by twenty, by forty units.
This guide treats “best” as a judging problem, not a brand-list problem. The fixtures that hold up share identifiable traits: the right shape for the mounting height, a layout you can verify with numbers, an electrical and thermal build that outlives the warranty. And purchase terms that say what happens when units fail. Each section below takes one of those traits.
What Counts as a High Bay Light (and What Doesn’t)
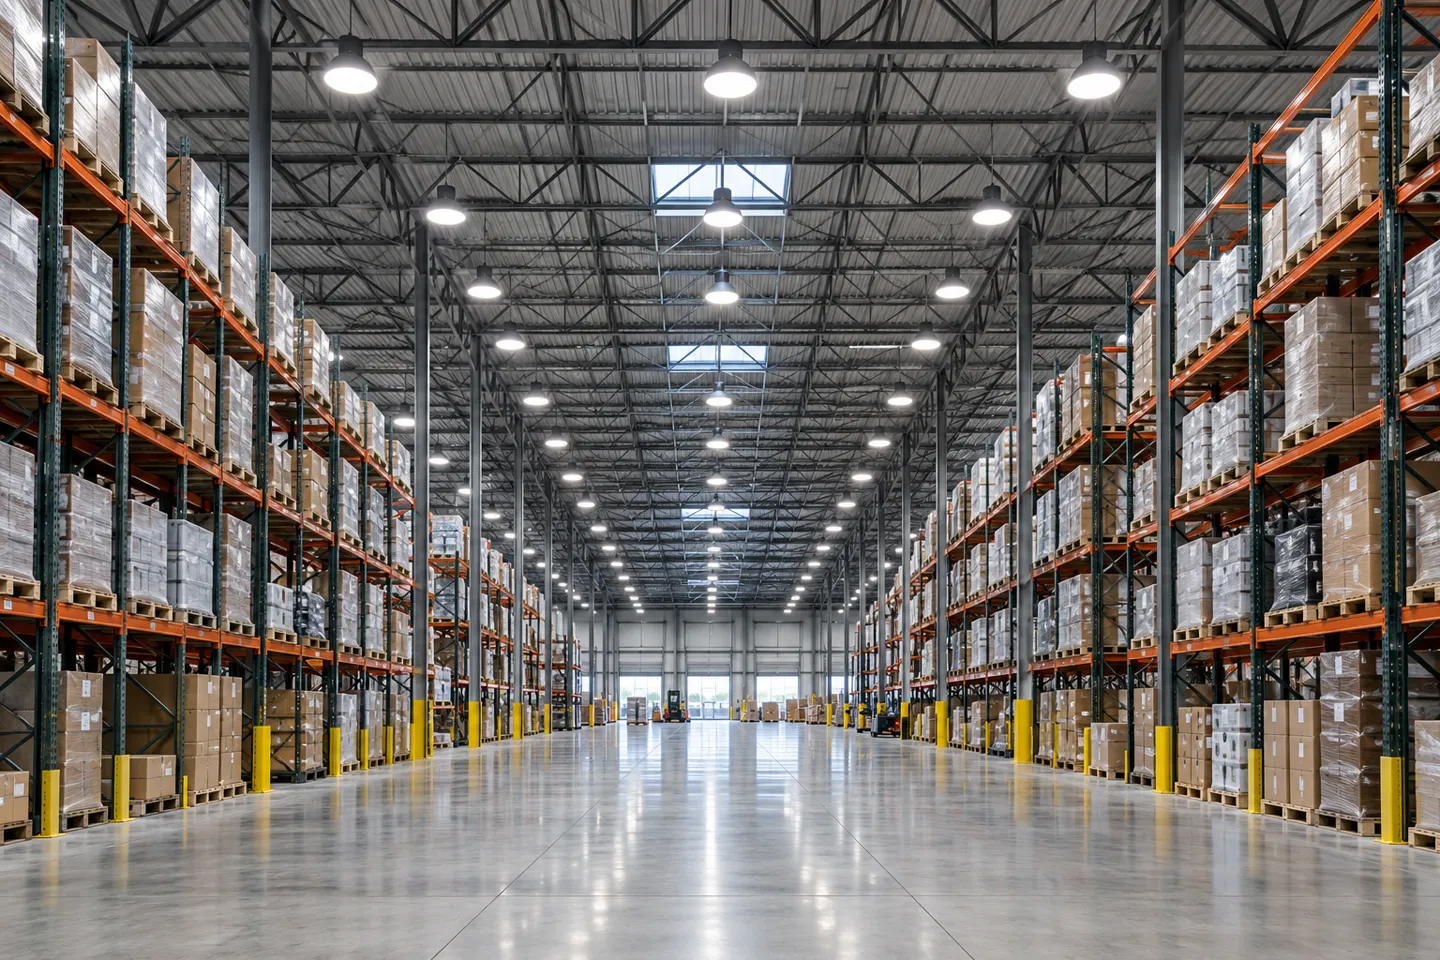
A high bay is defined by where it hangs, not by how it looks. The working convention: fixtures mounted roughly 12 feet (about 3.7 m) or higher are high bays, and anything below that is low bay territory. Typical applications run from about 12 to 45 feet. Small workshops sit at the low end. Warehouses and sports halls sit in the middle, and high-mast industrial spaces go higher. Output expectations scale with height, which is why high bay fixtures start around 10,000 lumens and climb past 30,000.
The height threshold exists for physical reasons. At 20 feet, a fixture needs enough lumen punch and a controlled beam. Light has to arrive at floor level as usable illumination, not a dim wash. Hang that same fixture at 9 feet and two things go wrong: the light is harsh to look at, and the floor ends up overlit while the walls stay dark. If your ceiling is under 12 feet, step out of this category entirely and look at low bay or strip fixtures instead; measure the clear height first, then pick the category.
UFO, Linear, or Panel: How Fixture Shape Decides Glare and Coverage
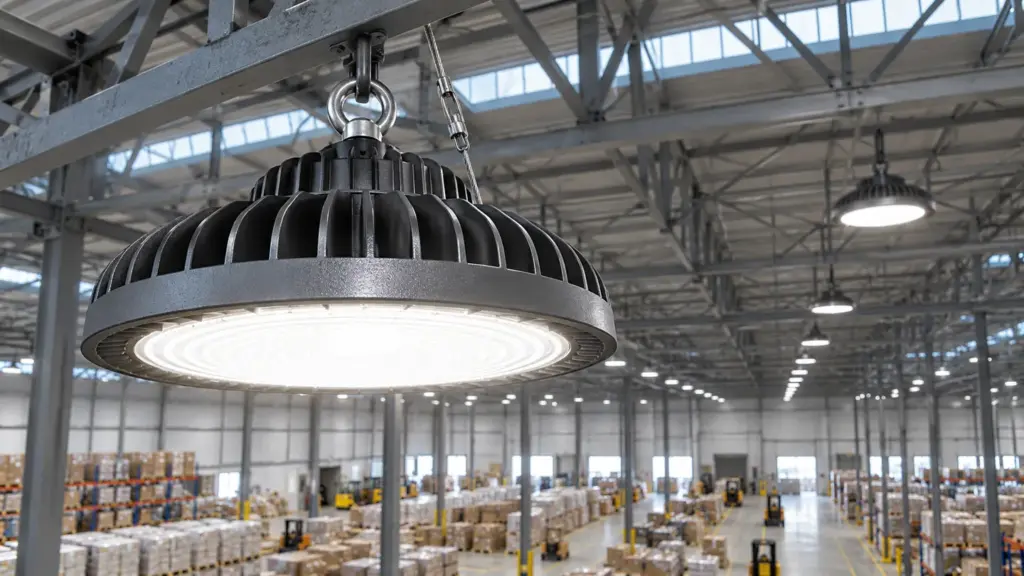
High bay fixtures come in three common shapes, and the differences are mechanical, not cosmetic. The UFO is the round “flying saucer” with a compact body and a small light-emitting surface. The linear high bay is a long rectangular body that spreads the LEDs across a much wider area. Flat panel and I-beam style fixtures are the third family, often used where a broad, low-glare surface matters more than raw output.
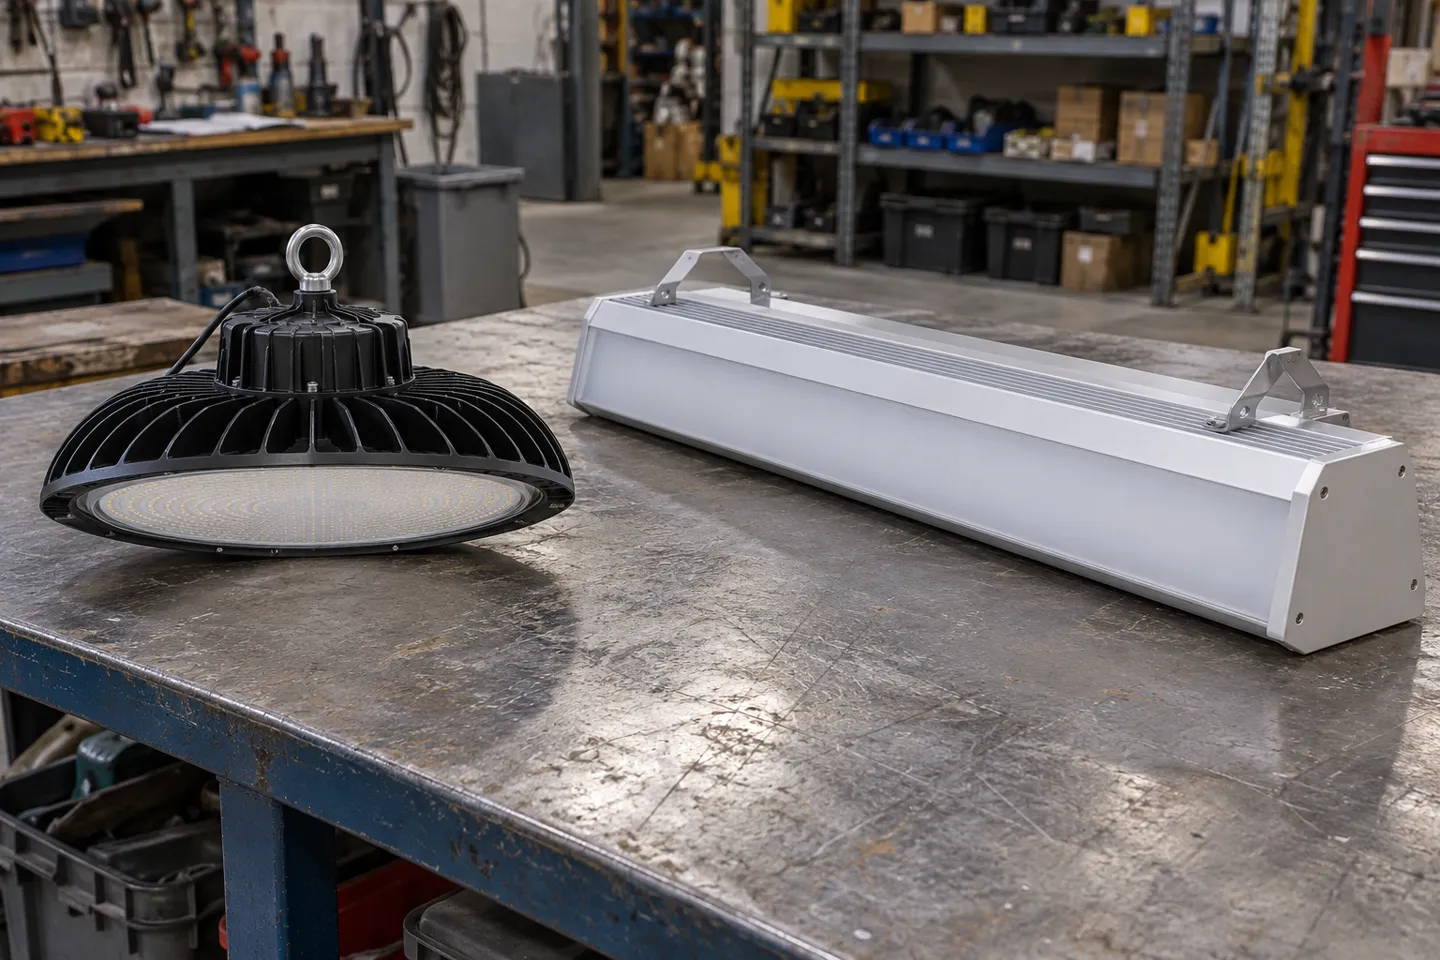
The physics that separates them is light source area. A UFO producing the same lumens as a linear fixture concentrates that light into roughly a quarter of the emitting area, so its source is far brighter per square inch. Look up at one from 14 feet and you are looking into a small, intense disc; that is why installers report UFOs feeling “harsher” at low mounting heights. The same fixture hung at 25 feet over a warehouse aisle reads completely differently, because distance diffuses the intensity before it reaches an eye.
Linear fixtures pay for that comfort with weight and mounting. They usually need two suspension points, and they align naturally over aisles and workbenches, which is one reason they remain the default for one-for-one fluorescent replacements. Panels trade output for glare control and suit retail floors and gyms. Contractors who install all three tend to settle on this rule of thumb: below about 15 feet, favor linear or recessed-array designs, and from 15 to 20 feet and up, either shape works. Above that, the photometric file should decide, because the fixture that “wins” on a spec sheet can still lose in the room.
High bay shapes at a glance
| Shape | Light source | Best mounting height | Install and cost notes | Watch out for |
|---|---|---|---|---|
| UFO (round) | Small, intense disc; recessed arrays cut glare | 18-30 ft, usable from ~15 ft with recessed arrays | Single hook or pendant, lightest install, lowest fixture cost | Glare under ~15 ft; check reflector quality |
| Linear high bay | Long, diffuse strip | 12-25 ft, strongest under 20 ft | Two suspension points, aligns over aisles; 1:1 fluorescent swap | Heavier; check housing seals after years of thermal cycling |
| Flat panel / I-beam | Broad, low-luminance surface | 10-20 ft | Surface or chain mount, clean ceiling look | Lower output per unit; not for tall halls |
How Many Lights, How Bright: Sizing and Acceptance That Hold Up
Sizing a high bay layout is a four-step chain, and skipping a step is how people end up with a bright floor and dark corners.
The four-step sizing chain
Set the target fc
30-50 fc for active warehouse floors
Convert to lumens
Target fc times area, split by fixture output
Space the fixtures
1.0-1.5x mounting height, tighter along aisles
Verify min:max
3:1 acceptable, 2:1 professional grade
Step 1. Pick a target. Work out the footcandle (fc) target for the task. A footcandle is one lumen falling on one square foot. Common design targets derived from IES recommendations land around 30-50 fc for active warehouse and workshop floors, with fine assembly and inspection work pushing higher, and pure storage able to run lower (IES Lighting Library, 2026).
Step 2. Convert to lumens. Multiply the target by floor area to get total lumens, then divide by realistic per-fixture output. A 1,200 sq ft shop targeting 60 fc needs roughly 72,000 delivered lumens, which is why a room that size often lands at ten to twelve fixtures once mounting height and utilization losses are factored in. Retail sizing charts pair mounting height with lumen ranges: 10,000-15,000 lm at 10-15 ft, 16,000-20,000 lm at 15-20 ft, and 20,000-30,000 lm at 20-25 ft. They are fine as a sanity check, but they are averages, and the fc calculation wins when they disagree.
Step 3. Space the fixtures. Uniformity comes from geometry. A practical starting point is fixture spacing of 1.0 to 1.5 times the mounting height, tightened along aisles. Here is the trap: buying brighter fixtures cannot fix a spacing problem. More lumens poured into the same bad layout just raises the bright spots and the shadows together.
Step 4. Verify before and after. Before purchase, ask for the photometric file (the IES-format file every serious manufacturer publishes) and run it through a layout tool; after installation, spot-check with a light meter. The acceptance number is the ratio of minimum to maximum reading: 3:1 is acceptable, 2:1 or better is professional grade. Averaging readings hides exactly the dark corners people complain about.

Two options de-risk uncertain ceilings. Wattage-selectable fixtures let the installer trim output after mounting, and CCT-switchable models settle the 4000K-versus-5000K debate on site. If the ceiling height or task mix is still moving, selectable units turn a guess into a setting.
Scenario matrix: what to configure and where the approach breaks
| Scenario | Configuration that works | Boundary: when this approach fails |
|---|---|---|
| Storage, low traffic | 20-30 fc target, wide spacing, occupancy sensing | Fails if aisles convert to picking zones; recheck targets before racking changes |
| Active warehouse aisles | 30-50 fc, linear fixtures over aisles, min:max under 3:1 | Fails with very tall rack cubes that block side throw; use rack-aligned layouts |
| Fine assembly or inspection | 70 fc and up, higher CRI bins, tighter spacing | Fails if color judgment matters and CRI/R9 was never specified |
| Ceiling under ~15 ft | Linear or recessed-array UFO, lower lumen packages | Fails if big-output UFOs are hung low; glare complaints follow |
| Dusty or wet zones (loading docks, barns) | IP65/IP66 sealed bodies, closed optics | Fails if open-reflector fixtures are used; dust film cuts output within months |
| Mounting height still undecided | Wattage- and CCT-selectable fixtures | Fails only if nobody records the as-installed settings for future maintenance |
Why So Many High Bays Die Right After the Warranty
Forum threads about workshop lighting keep returning to the same bitter pattern: fixtures that perform brilliantly on day one and start failing just outside the warranty window. One machine shop owner documented the full arc on a workshop forum. His linear high bays cost about $350 each and started failing six months after the warranty ended. The model was already discontinued, so the mounting pattern could not even be matched across the remaining ceiling (Garage Journal forum, 2021).
That story deserves an autopsy, because every element of it is predictable.
Documented failure
The post-warranty failure, documented
$350
per fixture, a linear high bay
6 mo
past the warranty when failures started
$15,000
invested, unrepairable in place
The model was discontinued and its mounting holes were obsolete. Not bad luck: a low-bid driver and a single-sourcing decision, compounding.
The electrical side: drivers, surge, and the grid
The driver is the first thing to die in a cheap high bay. LED chips are semiconductors that routinely outlast their housings, but the driver’s electrolytic capacitors are consumables: rated life drops steeply as internal temperature rises, and a manufacturer chasing a price point specifies the smallest, hottest capacitor budget available. This is why a “50,000-hour” rating on the box describes the chip’s lab curve, not the day the whole fixture stops. It is also why the same catalog fixture can have radically different life expectancy depending on which driver line it left the factory on.
Surge is the second electrical killer, and it explains the fixtures that die dark rather than dim. Industrial parks and rural grids take lightning-induced transients and switching spikes; a driver with minimal surge protection absorbs them until one day it does not. Driver surge ratings commonly span 2 to 10 kV depending on protection class, and matching that rating to grid reality is a specification decision, not an upgrade. Ask what surge class the driver carries before assuming the rating covers your site.
The thermal side: heat path and build quality
Heat management is where manufacturing discipline shows. LED lifetime is a temperature story. The chip’s useful life is defined as L70, the point where output decays to 70 percent of initial. Standardized LM-80 testing plus TM-21 extrapolation is how that curve is established and projected (U.S. DOE EERE, 2011). The chip’s curve only holds if heat actually leaves the fixture: a cast housing with the right mass, a metal-core PCB with adequate copper content to spread heat, and clean assembly between the two. Fixtures that yellow near the ceiling or develop dead LED clusters early are showing you a shorted heat path or a stressed component batch.
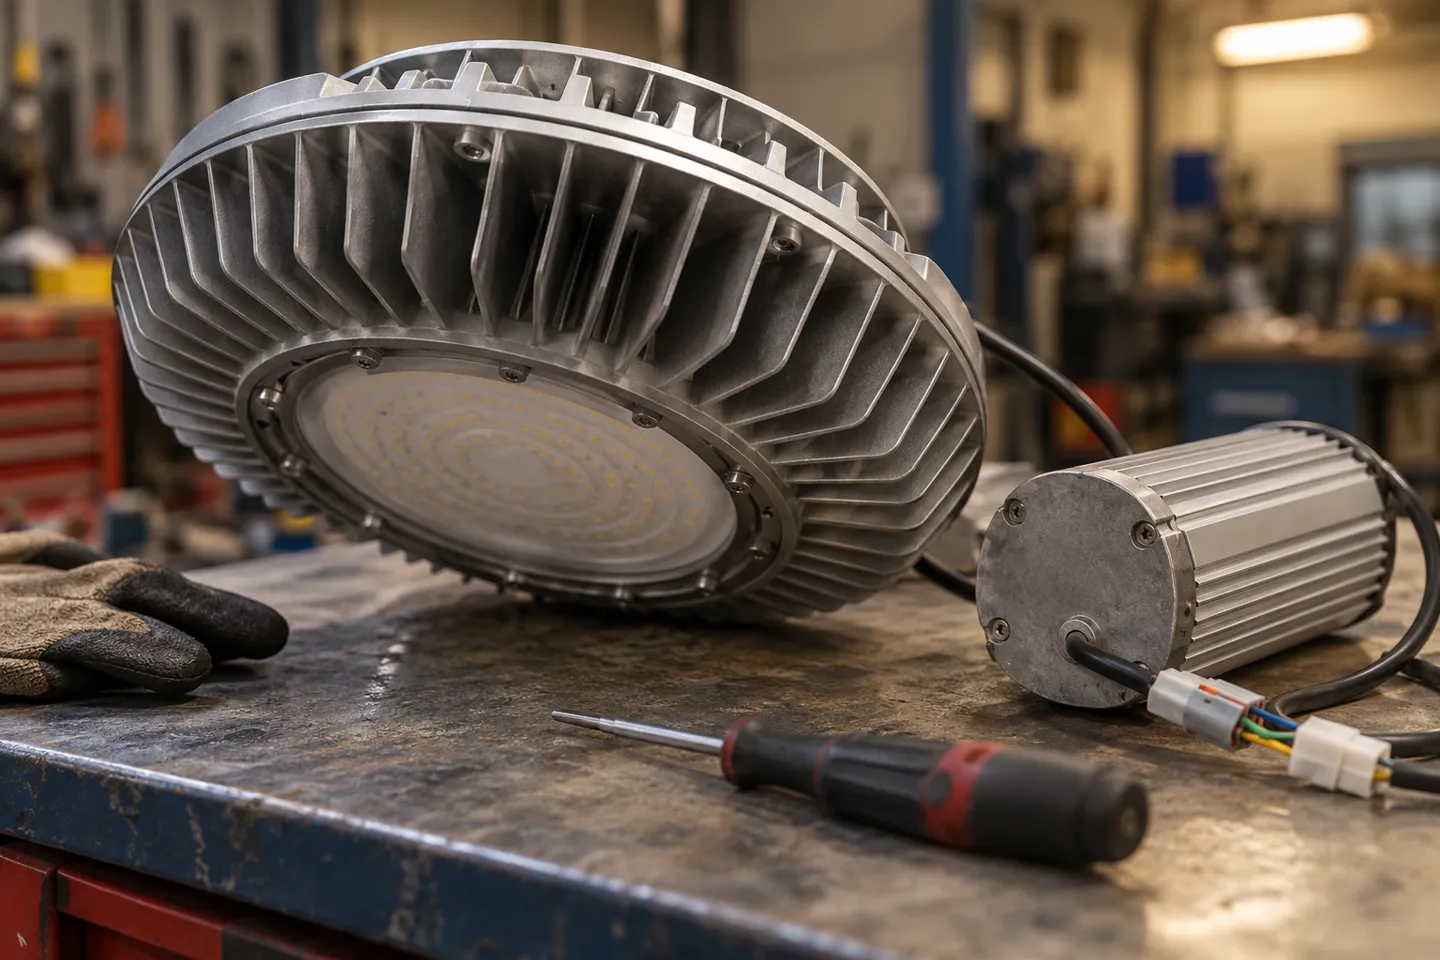
The uncomfortable industry truth is that warranty tiers usually reflect production reality, not just marketing. A 2-year-warranty line and a 5-year-warranty line are commonly built on separate production lines with different component lists, because the margin difference is spent exactly where the failures come from: capacitors, PCB grade, sealing, and assembly checks. When a supplier offers both a standard and an extended-warranty version at suspiciously close prices, ask what changed. The question is not “which do I want” but “what did they remove to hit that price.” A buyer who asks which driver brand is installed, what surge class the unit carries, and whether the extended line is a separate build is asking the right questions. Those are the questions that separate fixtures that age from fixtures that expire on schedule.
Brands, Certifications, and the Parts of a Spec Sheet That Matter
So which brand is best? That question, asked this way, has a misleading premise.
Why the brand name answers the wrong question
Retail listicles rank the brands you can buy in single units from a marketplace, and those rankings serve a real reader. But the same fixture bodies circulate under many labels; workshop forum veterans regularly note that a favored unit is “sold under other names” with only the badge changed. In this category the brand is a sticker applied to a supply chain, and the supply chain can produce both a good batch and a careless one. The practical consequence: a brand name tells you who to call, not what is inside. Judging by badge alone means outsourcing quality control to marketing.
That does not make brands meaningless. It means the meaningful part of a brand is its accountability system: whether warranty claims get answered, whether replacement drivers remain available years later, whether the product carries test files you can check. Those behaviors live on the spec sheet and in the purchase terms, not in the logo.
What certifications actually prove
Certifications answer specific questions, and it pays to know which. UL and ETL marks are North American safety certifications from nationally recognized testing labs; either mark means the fixture passed the relevant safety standard, and neither is a performance ranking. The DesignLights Consortium (DLC) runs the Qualified Products List that most North American utility rebate programs require. DLC listing imposes real performance thresholds, including photometric testing at accredited labs and a minimum warranty term of five years for listed products (DesignLights Consortium, 2025). CE and SAA are market-access marks for Europe and Australia. None of these guarantees a fixture will not fail; they guarantee that someone independent checked defined claims, and DLC listing in particular signals the fixture met a warranty floor.
The documents worth demanding are the test reports. An LM-79 report is the measured photometric and electrical performance of the complete fixture, produced by an accredited lab (U.S. DOE EERE, 2010). An LM-80 report covers the LED package’s lumen maintenance over time, and TM-21 is the accepted method for projecting that data forward, which is how an honest L70 claim is built. A supplier who produces these files on request is showing you their QC system works; a supplier who sends a datasheet screenshot is showing you something else.
Before signing anything, reduce “best” to four checkable items on the spec sheet:
The four-item spec sheet
- Certification scope for your market (UL or ETL for North America, DLC listing if rebates matter, CE/SAA where applicable)
- Test files: LM-79 for the fixture, LM-80 plus TM-21 for the chips, and the IES photometric file for layout
- Warranty term and what it covers on the specific series you are pricing, not the brand’s best line
- The failure process in writing: claim procedure, response time, and whether batch problems trigger root-cause analysis rather than box-swapping
Sourcing at Volume: How Contractors and Distributors Should Compare Suppliers
Everything above changes shape at quantity. A facility manager buying twelve fixtures cares about model selection. A contractor wiring forty units, or a distributor building a program, cares about repeatability: every pallet arriving with the same driver line, the same color binning, and the same paperwork. At volume, the supplier comparison checklist looks like this:
- Ask which production line and component list your order runs on, especially if you are pricing both a standard and an extended-warranty version.
- Demand the document set (certificates, LM-79, LM-80/TM-21, IES files) for the exact model number, not the family.
- Put the failure process in the purchase order: claim windows, response time, and batch root-cause analysis.
- Confirm sample policy, minimum order, and production lead time before promising dates to your own customer.
- For lighting layouts, require photometric simulation as a supplied service, not an extra.
That checklist is the reason some buyers end up talking directly to us at WOSEN rather than through a label. We run our high bay light line as factory-direct OEM supply. The current series are rated 150 to 180 lm/W with IP65/IP66 sealed aluminum bodies and a 5-year warranty listed on the series pages. Within the same housing, the driver can be specified as Meanwell, Inventronics, or Philips, so the component decision happens at order time rather than after a failure. Our after-sales process treats a batch problem as an engineering case: failed samples come back to us for root-cause analysis against the local grid conditions, and the fix is verified before compliant units ship. Overseas inquiries get answers within 12 hours. Orders run from MOQ 100 pieces with a 35-40 day production window. The same high bay line went into a mining high bay project in the Democratic Republic of Congo, where surge conditions and heat make the component list the whole argument (WOSEN high bay light line; WOSEN mining high bay project in the Democratic Republic of Congo).
To pressure-test a layout before committing, send WOSEN your floor dimensions and target footcandles and we will return a photometric simulation with fixture counts and beam angle options.
Get a photometric simulation for your floor
Send your floor dimensions and target footcandles and we return fixture counts, spacing, and beam angle options. Overseas inquiries answered within 12 hours.
Start my layout reviewReferences
- Illuminating Engineering Society. “IES Lighting Library: ANSI/IES Standards Collection.” 2026.https://ies.org/standards/lighting-library/
- U.S. Department of Energy, EERE. “Understanding and Evaluating LM-79 Reports.” 2010.https://www1.eere.energy.gov/buildings/publications/pdfs/ssl/test-reports-webcast_presentation1.pdf
- U.S. Department of Energy, EERE. “Reading, Understanding and Applying the LM-80 Standard.” 2011.https://www1.eere.energy.gov/buildings/publications/pdfs/ssl/2011msslsc_stalker_lm80.pdf
- DesignLights Consortium. “Solid-State Lighting Technical Requirements V5.1.” 2025.https://designlights.org/our-work/solid-state-lighting/technical-requirements/ssl-v5-1/
- Garage Journal Forum. “LED High Bay Recommendation.” 2021.https://www.garagejournal.com/forum/threads/led-high-bay-recommendation.481331/


 English
 Spanish
 French
 German
 Italian
 Arabic
 Russian
 Portuguese
 Dutch
 Indonesian
 Turkish
 Polish