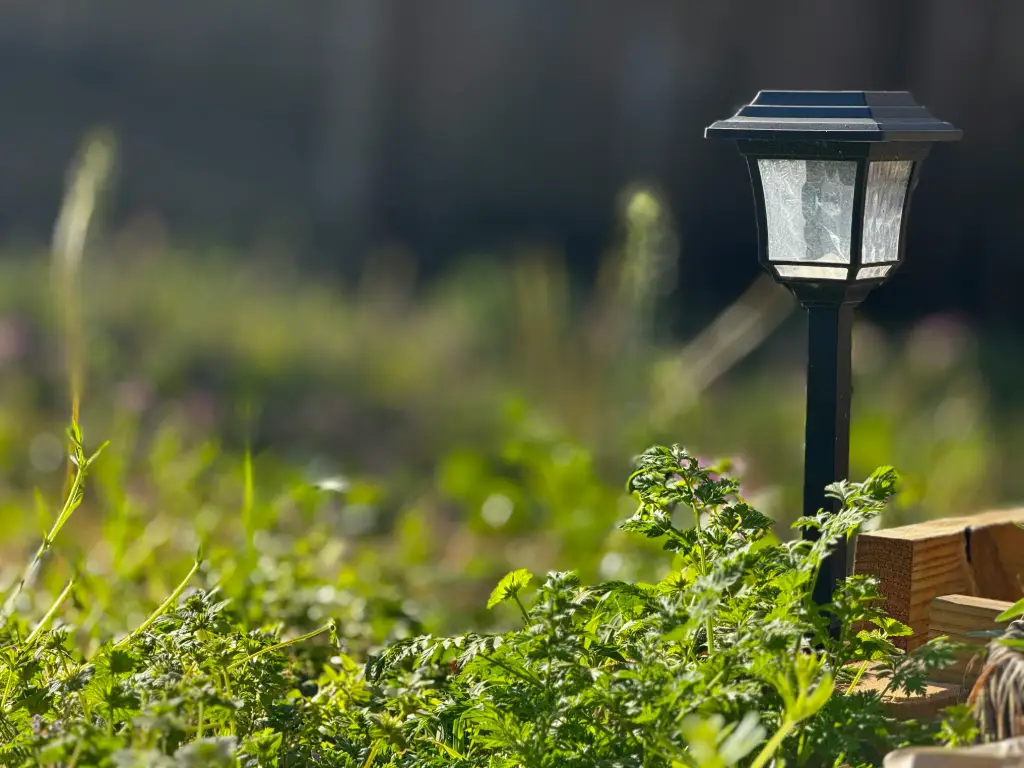
When a solar-powered light does not come on at dusk, the first thought is usually that the unit is damaged and needs to be replaced. This is often a wrong conclusion. It is necessary to realize that the majority of operational failures are not caused by a hardware malfunction or any physical damage before throwing away the light. Rather, they are usually the result of a few common potential issues, simple fix issues with proper placement, power, positioning, or the state of charge of the old batteries of the correct type. This guide offers a step-by-step procedure of diagnosing and correcting these issues. We shall start with the simplest checks and progress to a full troubleshooting process. The goal is to give you simple, practical steps that will either get your solar light back to full operation or prove that it really does need to be replaced.
How to Reset Solar Lights & Revival Process
Before you start thinking about wiring diagrams or spare parts, begin with the basics. Most solar light failures are not disastrous. They are caused by a slight carelessness or an exhausted energy store. The next two are the best non-invasive revival techniques. Attack them systematically; the answer is usually easier than you imagine.
Step 1: The 60-Second Quick Check
This preliminary diagnosis lasts less than a minute and solves an incredible amount of problems. It is the list of the obvious, the things so simple that they are usually ignored.
- Ensure Switch is ON: This may seem obvious, but physical switches can be inadvertently switched to the OFF position. This is the most likely cause of failure of new lights to work out of the box. If you’re unsure, consult your user manual to make sure that the switch is in the ON position.
- Pull-Tab: New lights are nearly always shipped with a small plastic tab that breaks the battery connection to avoid energy loss during shipping. This should be removed and thrown away.
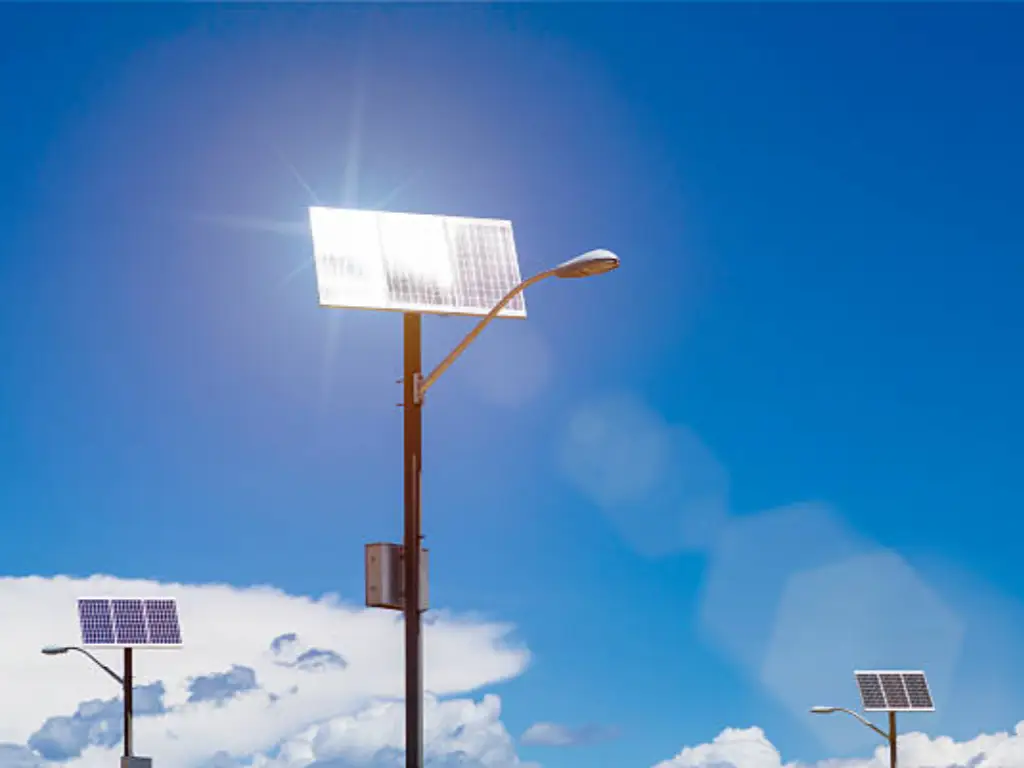
- Clean the Solar Panel: The solar panel is the engine of your light. When it is covered with a layer of dust, a splash of mud, bird droppings, or dirty solar panels, it will not be able to convert sunlight into electricity. Clean it off with a soft cloth and mild soap, wet cloth.
- Evaluate Its Position: A solar light needs six to eight hours of direct sunlight exposure, unfiltered hours of sunlight to reach a full charge for optimal light absorption to improve the performance of your solar lights. Is the light under the heavy shade of a tree, an eave, or a porch awning? And in that case, it is being deprived of the amount of sunlight exposure it requires to act. Move it to a sunnier location.
Step 2: The 3-Day “Hard Reset”
In case the quick check did not show any results, the next reasonable step is to consider the state of charge of the battery. A light which has been in a shady place too long, or which has had a long succession of cloudy days, may have its battery so exhausted that one day of sunshine will not be enough to restore it. This requires a Hard Reset, which is a procedure that is meant to carry out a deep, restorative charge.
- Switch the Light OFF: The first step is to switch the power switch to the OFF position. This is an important step, because it makes sure that all the incoming energy is used only to charge the battery, and not to some extent to feed the circuitry of the light or the sensitivity settings of the sensor.
- Maximum Sun Position: Put the light in the sunniest spot you can find in your yard.
- Wait 72 Hours: Allow the light to charge, undisturbed, over three days. This is a long time that enables the battery to gradually and fully recharge its power when it is in a deep discharge state. It is the electronic version of deep sleep.
- Test in Darkness: After 72 hours, take the light inside, turn the switch to the ON position and put it in a totally dark room or closet. Simulating darkness will also be done by covering the solar panel with your hand or a thick cloth. When the light comes on now, you are in business.
Still Not Working? The Complete Troubleshooting Flow
In case the quick check and the hard reset have not worked, do not lose hope. It merely implies that the problem is one step higher than the fundamentals. We have now to proceed to systematic troubleshooting, a process of elimination which will identify the point of failure.
- Battery Check and Replacement: Open the battery compartment carefully. Check the battery terminals or contacts to see if there are loose wires or a white, powdery substance on them – this is corrosion. It is an insulator, which does not allow power to flow. Wipe it off with a small wire brush or a cotton swab moistened with a little vinegar, and dry it well. When you are there, make sure that the battery is a rechargeable one (typically NiMH or Ni-Cd) and that it is inserted with the proper polarity (+/-). The battery itself might be at the end of its life, especially when the light is more than a year or two old, affecting its battery performance and the internal components. The rechargeable batteries are not eternal. Swap it out with a new one of the same type and a similar or slightly higher mAh (milliamp-hour) rating.
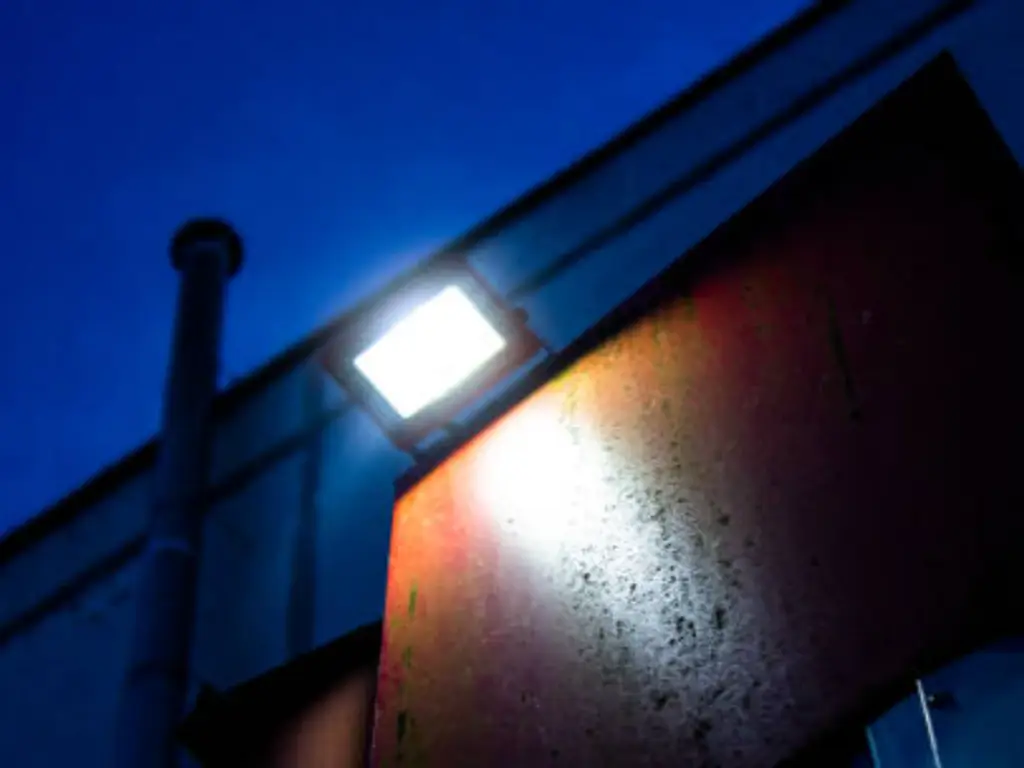
- Light Sensor Test:The photosensor, or light sensor, informs the unit that it is dark enough to switch on. To test it, make sure that the switch is ON and the battery is working. At this point, fully cover the solar panel. When the light comes on instantly, the sensor is functioning properly. Otherwise, the issue can be in the sensor itself or in the internal wiring. And watch out for light pollution caused by nearby artificial lights. The sensor can be fooled by a nearby streetlamp, a bright porch light, or even a security floodlight shining on the sensor and making it believe it is still daytime.
Proactive Care: Your Solar Light Maintenance Checklist
Preventing a problem is, of course, the best way to fix it. Solar lights are not fit-and-forget devices, although they are mostly self-sufficient. They are outdoor electronics designed for various outdoor spaces, which are subjected to the elements. Regular maintenance through a basic maintenance procedure can significantly increase their life and dependability while avoiding common problems.
- Monthly: Spend some time cleaning the solar panels. This is a small step that will make them work at their optimum level at all times, especially if you consider that dirty panels can significantly affect their performance.
- Seasonally: When the seasons change, inspect the lights more carefully. Inspect the housings to see whether they have cracks or water ingress. Make sure that they still get the best sunlight, because the direction of the sun in the sky varies with the seasons.
- Annually: In harsh climates, it is prudent to replace the rechargeable batteries in advance of 18-24 months on lights. This avoids the performance degradation from battery replacement that is bound to occur with the aging of the battery.
When to Upgrade: What to Look For in a Quality Solar Light
When your troubleshooting skills fail to revive your light, or when repair is becoming a common activity, the most viable long-term solution is to replace your equipment. A good fixture will save you the trouble of failure in the future and give you a better performance. This is what to watch out for:
- Long lasting, Waterproof Housing:Long lasting, Waterproof Housing: A solar light is always out in the open, exposed to outdoor conditions. The quality of the components of a fixture is usually the determinant of its reliability. Seek units constructed of high-quality materials, like die-cast aluminum, which offers superior heat management of the internal electronics. A low-cost housing may lead to overheating of the LED and circuitry, early water damage, and failure. Make sure that the fixture is rated IP65 or above to prevent ingress of dust and water.
- High-Efficiency LEDs and Drivers: The solar panel is not the only engine of the light. High-efficiency LEDs in quality fixtures are brighter with less energy and have a much longer life. Equally significant is the internal driver circuitry that drives these LEDs. Quality drivers provide stable brightness and performance, whereas low-cost components may fail in heat or provide unstable power.
- Signs of Strict Testing: The gap between a cheap light and a quality one is frequently the testing that it has gone through before it gets to you. Respected manufacturers subject their fixtures to a rigorous testing program in accredited laboratories. This may involve salt spray tests to represent years of exposure to the coast and thermal shock tests to guarantee operation in extreme temperatures. Such processes are an indication that a product is durable.
- Responsible Recycling: Be a responsible owner when you do upgrade. The rechargeable batteries in your old lights must not be disposed of in the normal trash because the materials may be toxic in the landfills. Please dispose of them at an electronics or battery recycling center.
Investing in a light with such features is a wiser decision that results in a more reliable and bright outdoor area.
Professional-Grade Reliability:Discover WOSEN
Most solar lights can be repaired, but it can be annoying to reset and fix them regularly. The most effective method of guaranteeing long-term dependability and stress-free lighting is to invest in high-quality engineering in the first place. Once you are tired of having to maintain your lighting system all the time and want to have reliable lighting throughout the year, WOSEN has the best solar solution.
- Designed to be Unsurpassed in Durability: Our solar lights are designed to be durable. The fixtures are made of strong ADC12 aluminum and have a high level of heat dissipation to avoid overheating, which increases the working life to an impressive 50,000 hours. They are IP65 waterproof, which means they can withstand any weather, whether it is pouring rain or scorching heat, so they will work perfectly year after year.
- Smart, Efficient Technology: We combine the latest features to deliver high performance. Our lights have human and radar sensor technology that can detect motion with high accuracy, which is energy efficient and increases security. The brightness and color temperatures (3000K-6500K) are adjustable, so you can set the ideal light in any outdoor setting. And the best part is that our solar lights are zero carbon emission, which provides a strong and sustainable source of light.
- Tested to the Toughest Standards: All WOSEN fixtures, including our solar models, are put through a demanding test program in our CNAS-certified lab. This involves 24-hour aging, salt spray tests that mimic years of exposure to the coast, and thermal shock tests. This dedication to quality makes sure that each light is prepared to face the real world.
This is the WOSEN difference. That is why we are selected by discerning homeowners and professional contractors on projects where failure is not an option. A WOSEN solar light is a long-lasting, smart, and dependable investment that will welcome the dusk with a friendly light in the years to come.
Conclusion: Keep Lights Shining
The transition between a dim object to a brightly illuminated walkway is a fulfilling one. It starts with the realization that a solar light is a straightforward, beautiful system. Most units can be revived by a logical process: a speedy check, a restorative reset, and systematic troubleshooting. This information gives you power, making you a competent problem-solver instead of a frustrated consumer.
After all, the most effective way to make sure that your world is bright is to make the right choice in the first place. Maintenance may extend the life of any light, but it cannot add quality where it is lacking. When you purchase a product that is designed to last, made of high quality materials, and tested to the highest standards, the type of product that companies such as WOSEN produce to meet the needs of the most demanding projects in the world, you are not purchasing a light. You are getting a long-term, dependable solution. You are putting your money in the plain, contented prospect of a garden that will, come what may, meet the dusk with a glow of welcome.