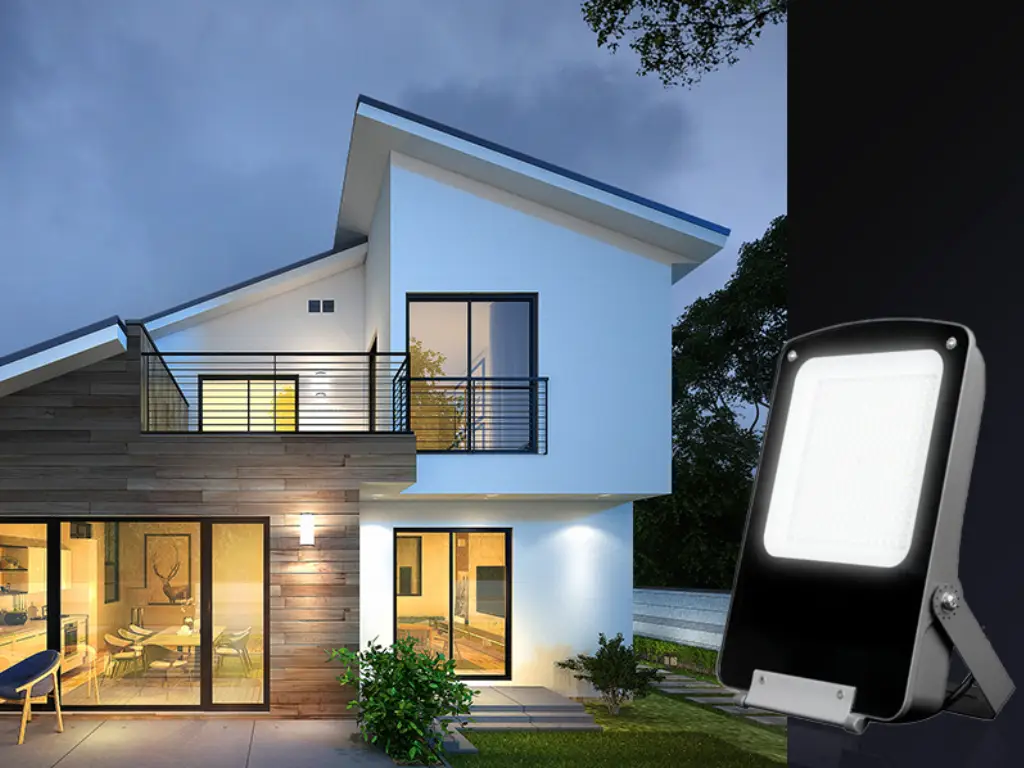
Outdoor flood lights are a convenient and efficient method of enhancing the safety and functionality of your home, especially for illuminating residential properties with a broad beam of light and directional lighting. Good lighting, including exterior flood lights, improves security by providing bright illumination in dark places, scaring away possible intruders and making your property safer to move around at night. A bright driveway, pathway or backyard is a source of security and peace of mind.
Although most homeowners may think that this is a task that requires the services of a professional, a flood light is a very doable DIY project that can ensure adequate lighting. You can do this task yourself with clear instructions, a focus on safety guidelines, and the appropriate tools. This guide will give you a comprehensive roadmap of the whole process, including choosing a suitable location and the correct fixture and making the final connections so that you can approach the project with confidence.
Choosing the Right Flood Light for Your Home
The most important decision is made before the first screw is turned, and that is the selection of the light itself. This decision will not only determine how bright your yard will be, but how complicated the installation will be and how much you will spend on energy in the long run. Consider it as the lead actor in the nightly performance of your home.
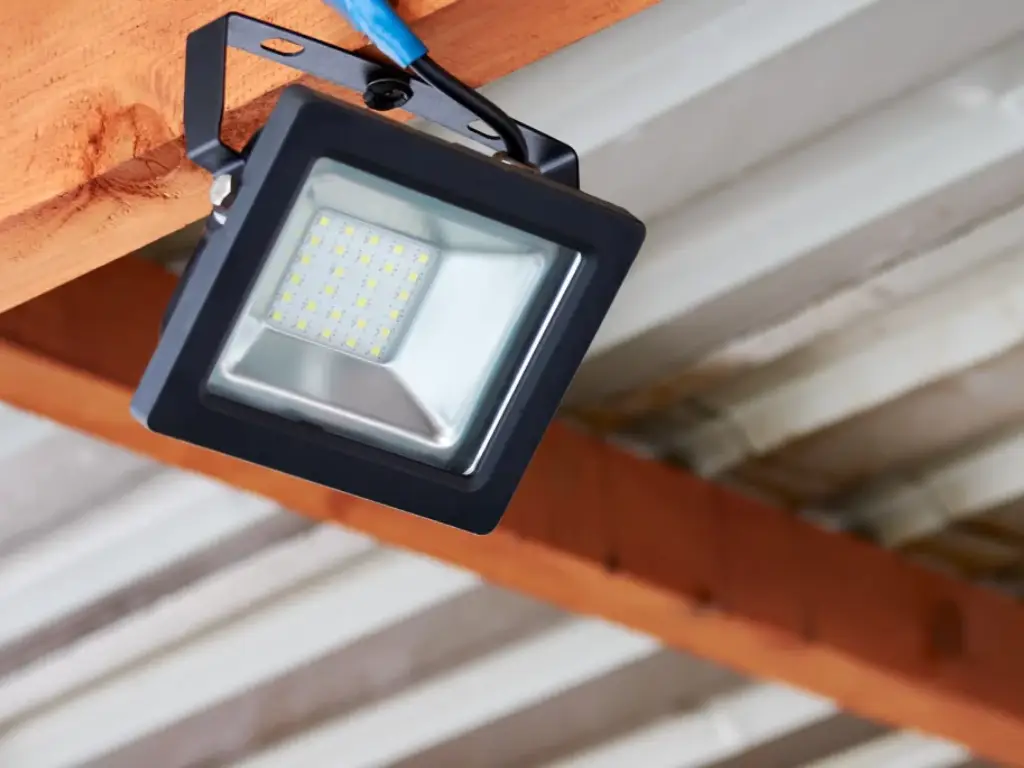
LED: This is the unquestionable king of the modern lighting. LED flood lights are the best location for the most efficient of all, using up to 80 percent less energy, offering significant energy efficiency compared to the older ones, resulting in significant cost savings. They have a life of tens of thousands of hours, so you could put one in and forget about replacing a bulb in more than ten years. They give a clean, bright light that reproduces colors accurately, including the appropriate cooler temperatures, enhancing the light’s appearance, and, most importantly, they are cool running, which adds an element of safety.
- LED: This is the unquestionable king of the modern lighting. LED flood lights are the most efficient of all, using up to 80 percent less energy, offering significant energy efficiency compared to the older ones, resulting in significant cost savings. They have a life of tens of thousands of hours, so you could put one in and forget about replacing a bulb in more than ten years. They give a clean, bright light that reproduces colors accurately, including the appropriate color temperature, enhancing the light’s appearance, and, most importantly, they are cool running, which adds an element of safety.
- Halogen: The former standard, halogen bulbs are the gas-guzzling muscle car of the lighting industry. They are inexpensive to purchase initially and give out a very bright and warm light. Nevertheless, they consume energy at an alarming rate and produce a lot of heat, which makes them less safe and much less durable than LEDs.
Next, consider the power source.
- Hardwired: These are lights that are directly connected to the electrical system of your home, ensuring they comply with local electrical codes. This offers the best and strongest source of light, ensuring adequate illumination. It is the benchmark of replacing an existing fixture or any permanent high-performance installation. This is the kind of installation that we are going to concentrate on in our primary step-by-step guide.
- Solar-Powered: An excellent alternative in places that are distant to a power source. The contemporary solar flood lights have turned out to be quite potent and dependable. They are composed of a light and a separate solar panel that are linked together with a wire. They are easy to install since they do not require any high-voltage wiring, but their efficiency is solely based on whether they get sufficient sunlight on a daily basis.
- Battery-Powered: The easiest of all. These are usually smaller, motion-sensing lights that are ideal in sheds, closets, or small entryways. They do not need any wiring at all and rely on frequent battery replacement, so they are not suitable as primary security lighting.
A hardwired LED flood light is the gold standard of most homeowners who want a strong, dependable security and working light. It is an investment in quality, safety and peace of mind.
Essential Tools and Safety Preparations
Let’s be unequivocally clear: when dealing with your home’s electricity, safety is not a guideline; it is the entire law. A mistake here is not like a crooked picture frame. The respect you show for the power coursing through your walls will ensure this project ends in success, not in a call to the emergency services.
Before you even think about climbing a ladder, gather your team.
Essential Tools & Materials:
- Your new flood light fixture
- Sturdy Ladder
- Non-Contact Voltage Tester (Crucial!)
- Screwdrivers (Phillips and flat-head)
- Wire Strippers/Cutters and Wire Cutters
- Pliers
- Wire Nuts (usually included with the new light)
- Exterior-grade Waterproof Caulk and Caulk Gun
- Work Gloves and Safety Glasses
Here’s a list of tools you’ll need: The Unbreakable Rule: Power Off Procedure
- Find the Circuit Breaker: Visit your home main electrical panel (circuit breaker box). It must be in a garage, basement or utility closet.
- Turn Off the Circuit: Find the breaker that switches the circuit of your current outdoor light. It might be labeled “Exterior,” “Outdoor Lights,” or “Garage.” In case you are not sure, you might have to switch off some of them until you get the right one. In case of doubt, turn off the main breaker that supplies the whole house.
- Check that the Power is Off: Return to the light fixture and switch the switch on. The light is not supposed to come on.
- VERIFY WITH YOUR TESTER: This is the most crucial step. Get on your ladder, unscrew the screws that are holding the old fixture, and carefully pull it off the wall to reveal the wires. Holding the tip of your non-contact voltage tester without touching any wires, bring it near the black wire. The tester must be silent and unlit. Recheck it on a known live outlet to make sure that the tester itself is functioning. You should not do this until you have verified with a tester that the wires are dead.
Always assume that all wires are live until you have demonstrated otherwise. It is the foundation of any safe electrical work.
Video Guide for Visual Learners
Before you climb the ladder, we highly recommend watching a short, clear tutorial video. It will serve as the perfect visual supplement to the detailed steps below, ensuring you’re fully prepared and confident for the task ahead.
Once you’ve watched the video, come right back here. We’ll be ready to walk you through each step in detail, reinforcing what you’ve just seen.
The Installation Process: A Step-by-Step Guide
The power is off, and you have your tools in hand, and the main event starts. We will divide it into three distinct stages: preparation, installation, and inspection.
Site Preparation: Removal of the Old Fixture
This is the destruction stage, making room to the new.
- Unscrew and Detach: Once your ladder is in place, take care to complete the process of unscrewing the old light fixture off its mounting plate on the wall or eave. Hold it up like that; don t have it hanging on the wires.
- Open the Wiring: Carefully pull the fixture out. Three wires will be coming out of the wall and will be connected to the wires of the fixture using wire nuts (small plastic caps).
- Remove the Wires: Unscrew the wire nuts by turning them in the counter-clockwise direction. The wires are supposed to be separated easily. The wall will usually have a black (hot), a white (neutral), and a green or bare copper (ground) wire.
- Eliminate Old Hardware: Unscrew the old mounting bracket on the electrical junction box on the wall.
Mounting and Wiring the New Flood Light
This is the heart of the operation, where your new light becomes part of your home, providing optimal coverage throughout the area.
- Install the New Mounting Bracket: Your new flood light also has a new mounting bracket or crossbar. Fix this to the junction box with the supplied screws, following the manufacturer’s instructions. Connect the wires with wire connectors to ensure a secure installation. Make it flat and stable. A rubber or foam gasket is often provided; this should be inserted between the bracket and the wall to form the initial layer of weather sealing.
- Wires Connection: This is the most important connection. It is a handshake between the light and your house.
- Remove the black wire on the wall and the black wire on your new fixture. Twist a wire nut on clockwise until tight and no copper is showing by holding their copper ends together. For added security, consider using a metal conduit connector to secure the connection. Pull it lightly to make sure it is fastened.
- Do the same with the white wire on the wall and the white wire on the fixture.
- Lastly, the ground wire (green or bare copper) on the wall is connected to the green or copper wire on the fixture, usually by screwing it to a green grounding screw on the mounting bracket itself.
- Your failsafe is the color-coding: Black-to-Black (Power), White-to-White (Neutral), Ground-to-Ground (Safety).
- Install the New Fixture: Gently push the wires that are joined back into the junction box. Position the new fixture on top of the mounting bracket and fasten it in place using the supplied mounting screws. Make sure it is flush with the gasket and the wall.
The Final Check and Power-Up
- Adjust the Lamp Heads: Aim the individual lamp heads of your flood light towards the areas you want to illuminate—a dark corner of the yard, the driveway, a side path.
- Restore Power: Go back to your breaker box and flip the breaker back to the “On” position.
- Test the Light: Flick the light switch on. Your new flood light should spring to life. If it’s a motion-activated model, you may need to wait for its initial calibration cycle (usually a minute or two) and then test the sensor by walking in its path.
Fine-Tuning and Troubleshooting
The light is on, yet the work is not quite done. The finishing is what makes a good installation a great one.
Weatherproofing is the most neglected step. Outdoor electronics has its mortal enemy, which is water. Use silicone caulk as your exterior-grade caulk and put a neat bead around the top and sides of the base of the fixture where it touches the wall. Leave the bottom edge open. This is essential; it will enable any moisture that may somehow find its way in to drain out, instead of being trapped and leading to a short circuit.
Troubleshooting Common Issues:
- Light fails to come on: Have you switched the correct breaker? Is the light bulb (in case it is separate) screwed in? Check your wiring connections again- a loose wire nut is a frequent cause. And, it is simple, but check the light switch itself.
- Breaker trips instantly: This is a sign of short circuit. Switch off the power at once. The probable reason is that the black (hot) wire is touching the ground wire or the metal junction box. You will have to remove the fixture and examine your wiring.
- Motion sensor is too sensitive (or not sensitive enough): The vast majority of motion-activated flood lights have small dials or switches on the sensor itself, usually labeled SENS (Sensitivity) and TIME (how long the light stays on). Tweak these gradually to get the ideal environment setting.
Installing Smart and Solar Flood Lights
The outdoor lighting world is quickly changing to more than just on/off. Now that you’ve learned about the smart flood light, it’s important to understand common mistakes to avoid when selecting the right fixture. The smart flood light is the ultimate upgrade to the modern homeowner, turning a simple utility into a smart, responsive component of your home ecosystem.
The physical installation procedure is almost the same as the hardwired guide we have just gone through. You will still install the cover plate fixture and attach the black, white, and ground wires with the same safety consideration to the top of the box of the extension box. The magic starts when you turn the breaker back on.
This is where the profound engineering knowledge of a company comes to the fore. A smart light is not a light, it is a connected device. After installation, you will connect it to the Wi-Fi network of your home using a special smartphone application. This is a small step that opens a new world of control and automation:
- Remote Control: Switch your lights on or off wherever you are using smartphone apps. No longer will you have to ask yourself whether you left the backyard light on.
- Smart Scheduling: Program your lights to come on at sunset, dim at midnight, and turn off at dawn, so your home looks occupied and safe, even when you are away.
- Sophisticated Security Integration: Connect your flood light to security cameras and other sensors, and you have a system where a motion detected can turn on lights, recordings, and notifications at the same time.
The quality of the internal components, the Wi-Fi module, the power driver, and the LED chips themselves is the only factor that determines the reliability of these smart features. Here, the 30-year history of WOSEN in producing to the rigorous demands of the world market is a key factor. We design our intelligent products not only to perform, but to perform perfectly. We have a long history of passing the rigorous UL and CE certification requirements, so we design our lights to be stable and long-lasting, and our in-house testing ensures that our lights can handle everything, including extreme temperatures and corrosive salt air.
When you select a high-quality smart flood light, you are not only installing a light, but you are investing in a safer, more convenient, and smarter home.